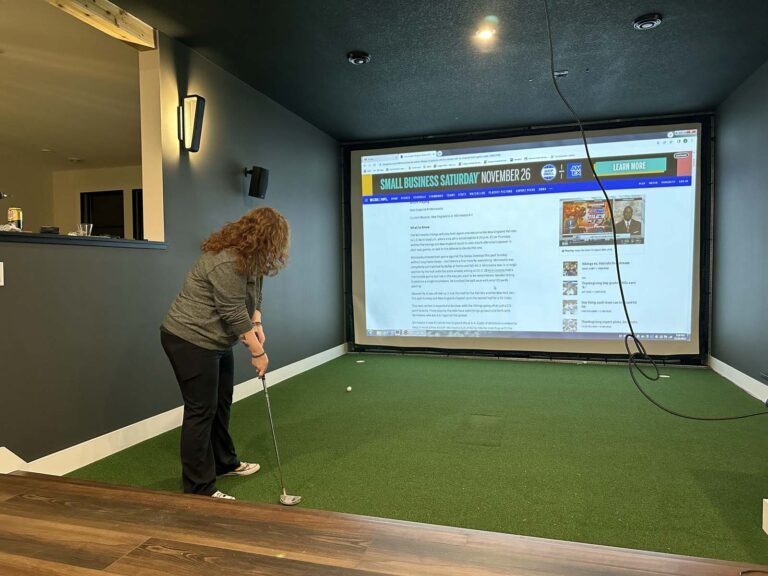
Have you ever dreamed of having a golf simulator but hesitated because your only available space is your garage? Imagine you park your car as usual, and with the press of a button, your garage transforms into a high-tech golf simulator.
Sounds incredible, right? That’s exactly what we’ll walk you through today—a step-by-step guide to building a retractable garage golf simulator.
This setup lets you have the best of both worlds: parking your car and improving your swing. Let’s dive into the process!
Step 1: Clear Out and Prep the Garage
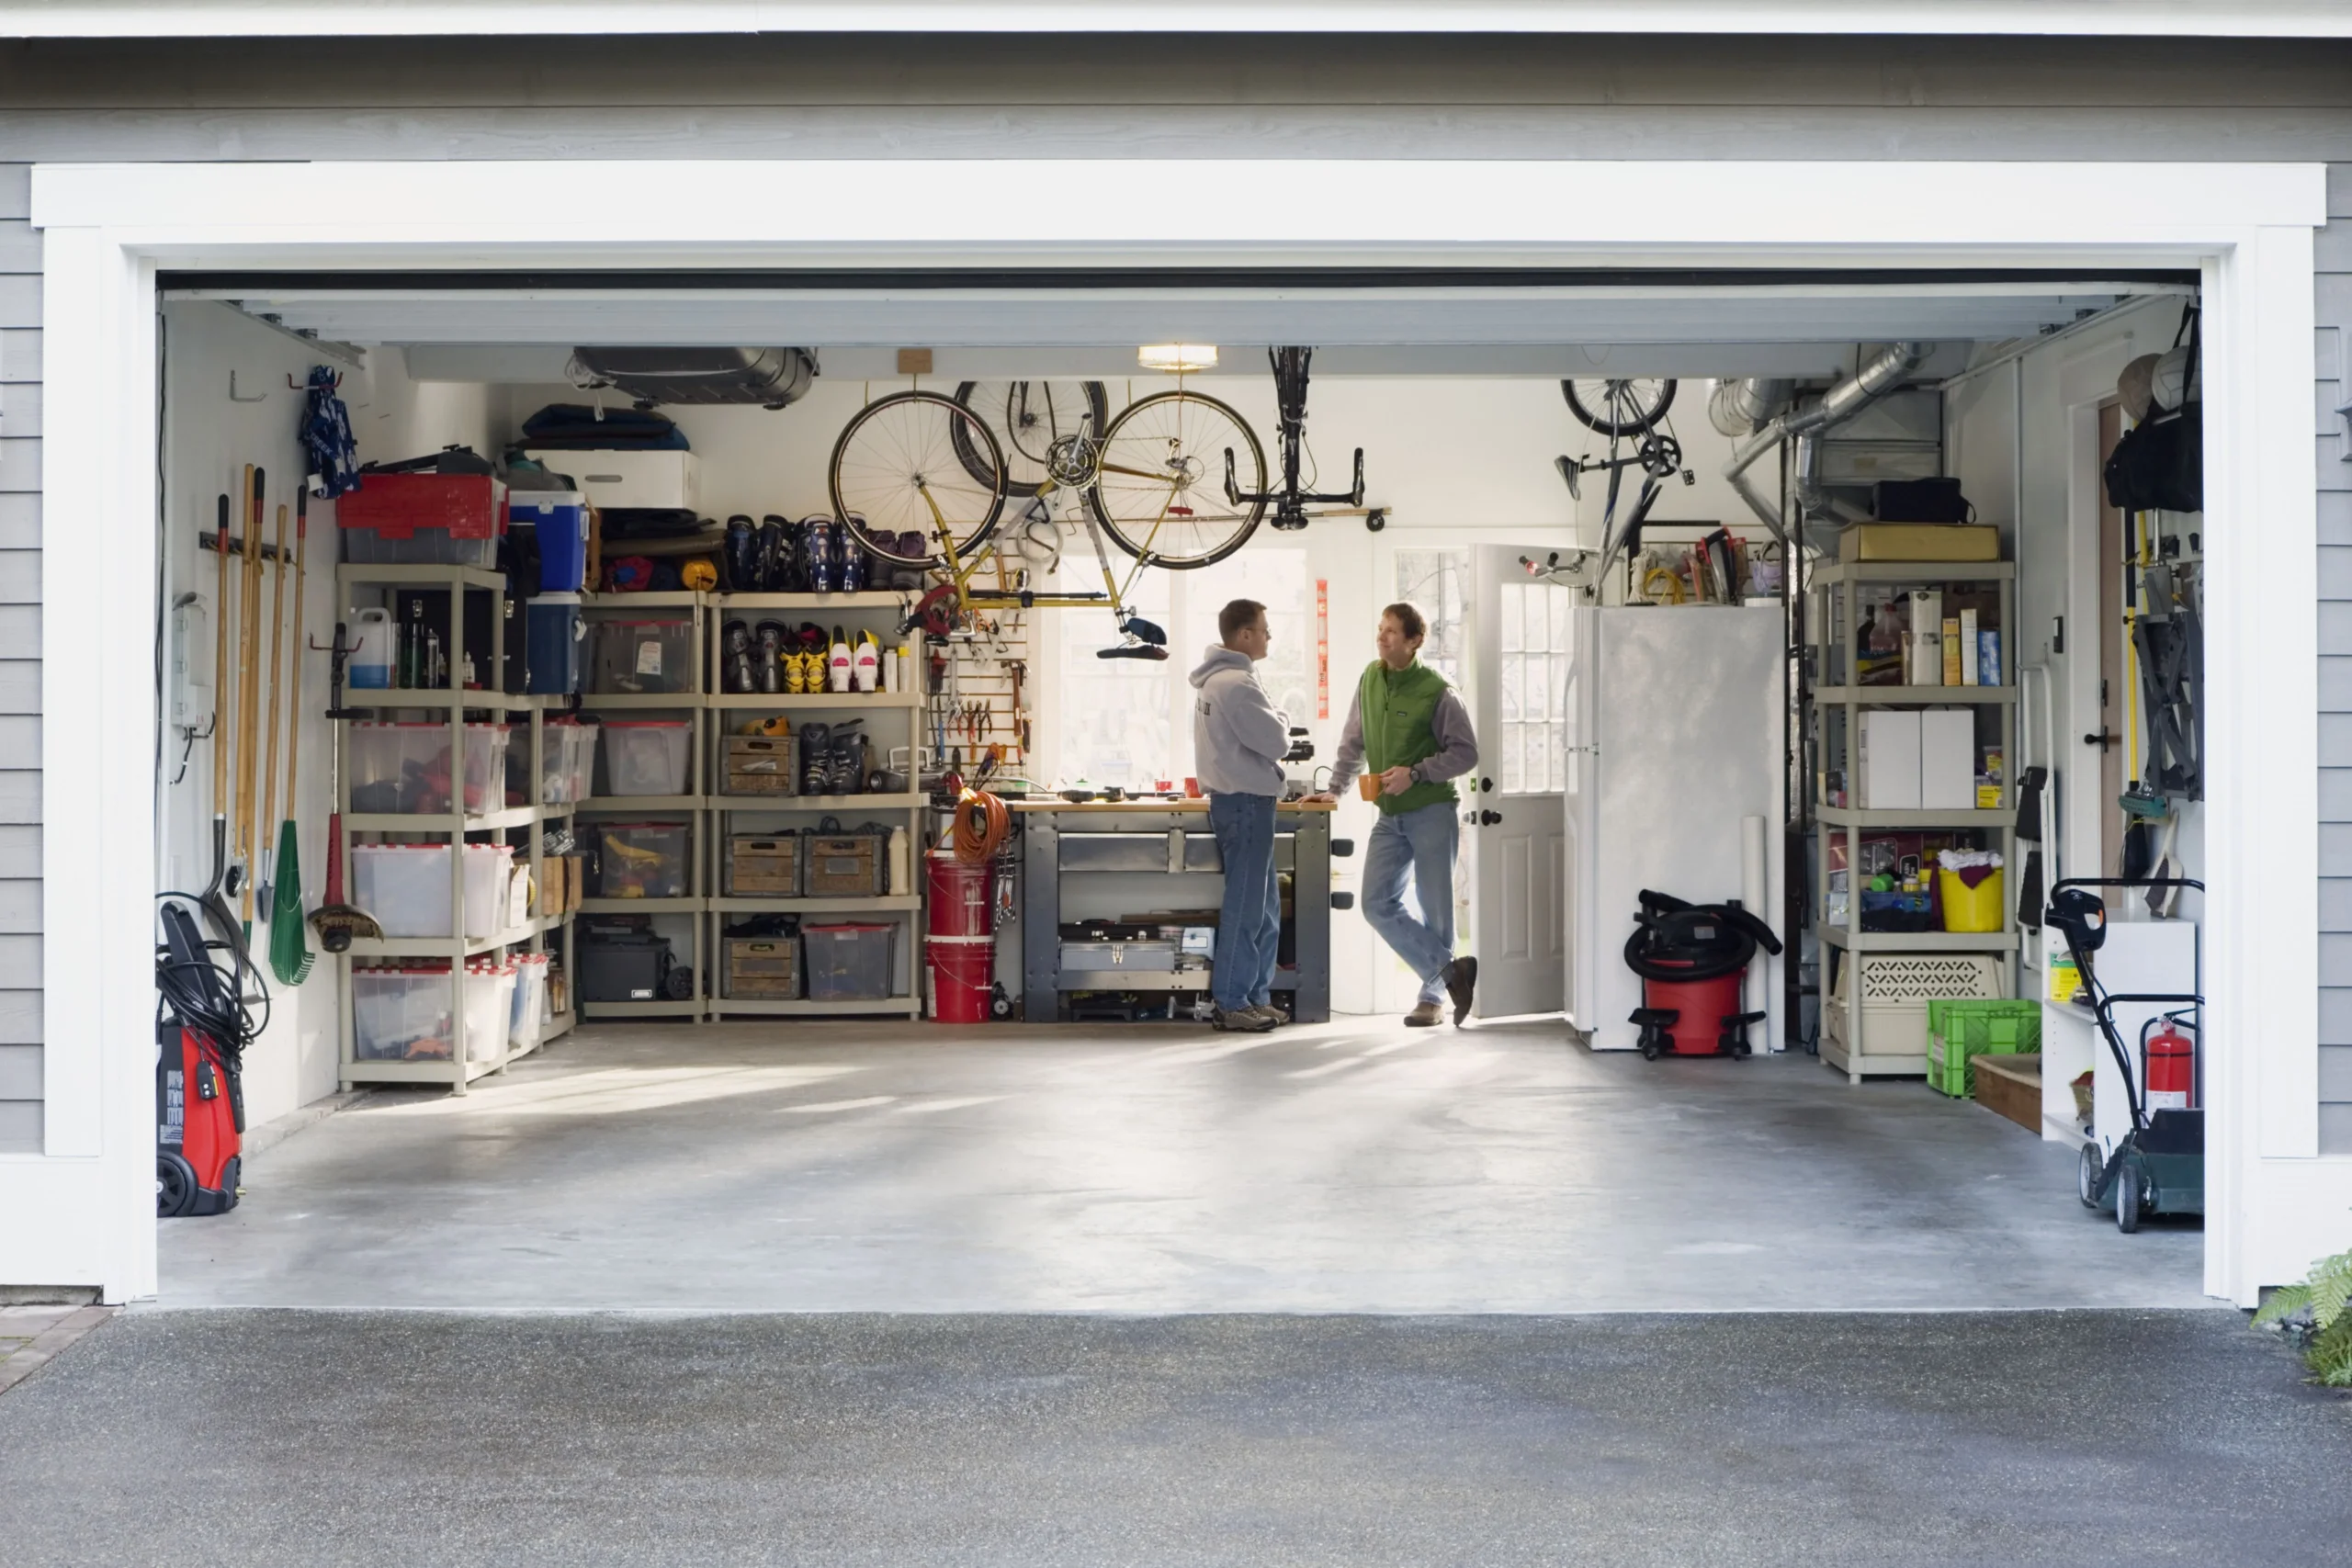
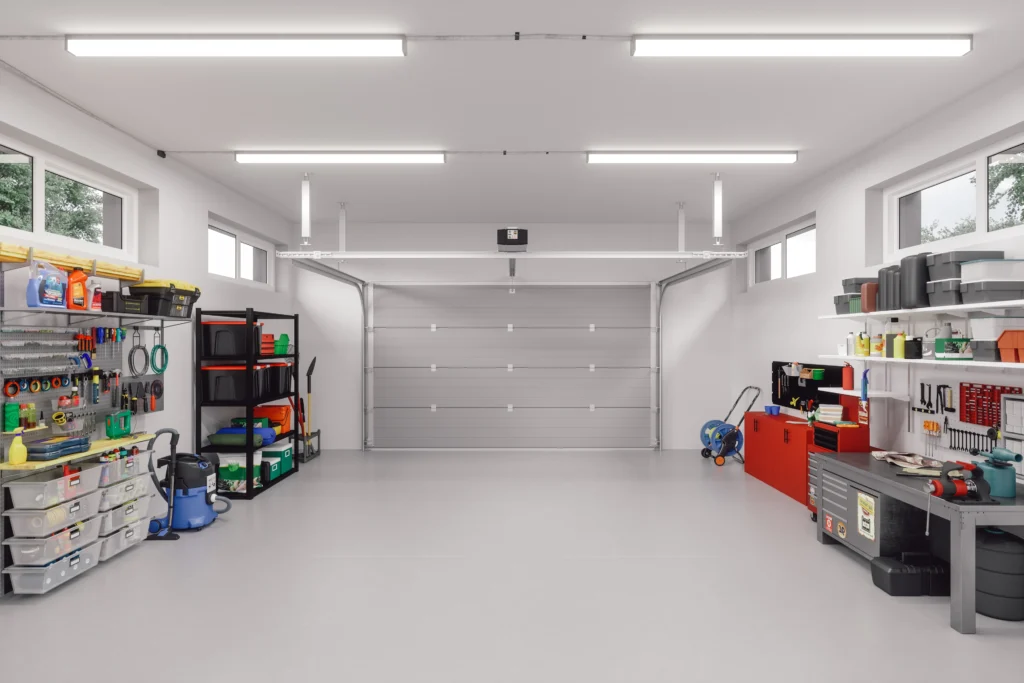
The first step might seem straightforward, but it’s absolutely essential. Start by clearing out your garage, making room for your simulator setup. Every storage bin, stray golf ball, or random clutter has to go.
Once you’ve emptied the space, take a broom and give the area a thorough sweep to ensure the floor is clean and level. A smooth surface is crucial for the flooring and other components you’ll be installing.
If you’ve been using your garage for storage, this might feel like a big task, but it’s worth the effort. Take a moment to visualize the final product—a clean, functional space that can house both your car and a professional-grade golf simulator. With this image in mind, measure your garage to ensure it meets the space requirements.
A retractable setup typically needs at least 9 feet in width, 12 feet in height, and 18 feet in depth. If your garage doesn’t meet the depth requirement, don’t worry—there are compact launch monitors that can adapt to smaller spaces.

Step 2: Install Foam Flooring
Once your garage is prepped, it’s time to lay down the foundation. Foam flooring tiles are the ideal choice for this setup. They provide a cushioned, durable surface that’s perfect for standing on during long practice sessions, while also protecting your garage floor from damage. The tiles interlock like puzzle pieces, making them easy to install even if you’re not particularly handy.
Start in one corner and work your way out, ensuring the tiles are tightly connected. For most garage setups, a 9×6 tile configuration works perfectly. Not only does foam flooring reduce noise from ball impacts and swings, but it also gives your simulator space a polished, professional look.
Once the flooring is complete, take a moment to appreciate how much better your garage is already starting to feel—it’s a massive upgrade from bare concrete.

Step 3: Roll Out the Turf
Now that the foundation is set, it’s time to add the turf, which will bring a realistic golf course feel to your setup. Unroll the turf over the foam flooring, making sure it completely covers the area. Start by cutting the turf roughly to size, leaving a little extra on the edges for precision trimming.
A turf cutter is highly recommended for this step, as it makes the process faster and cleaner compared to using a razor blade or knife.
Once the turf is trimmed to fit perfectly, smooth out any bumps or wrinkles. You may want to secure the turf with adhesive or double-sided tape to prevent it from shifting during use. This step might feel like a finishing touch, but it’s one of the most transformative parts of the build. The turf not only enhances the look of your simulator but also provides a stable, reliable surface for your swing.

Step 4: Assemble the Retractable Enclosure
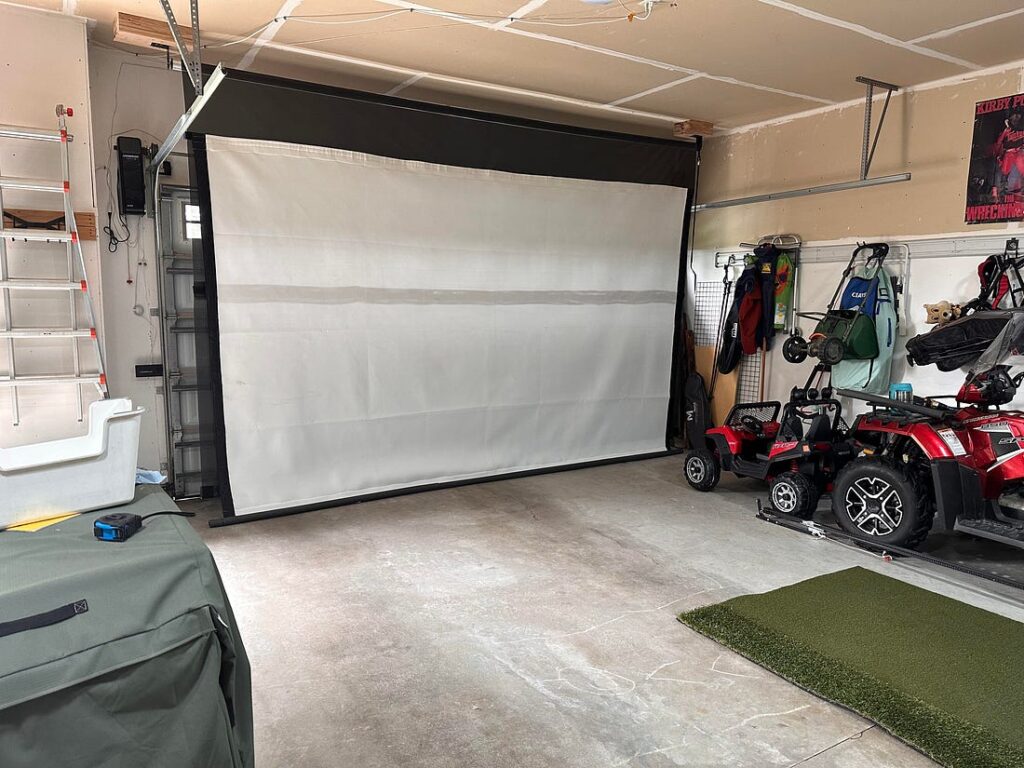
Here’s where your garage starts to transform into a dual-purpose space. The retractable enclosure is the backbone of your golf simulator, designed to hold the impact screen and side walls securely in place. Begin by deciding on your mounting option. Ceiling mounts are ideal for garages with high ceilings, while wall mounts work better for smaller spaces. You can also combine both options for added flexibility.
Next, assemble the frame using aluminum pieces and secure them with L brackets. Attach black angle brackets to hold the rollers that will support the impact screen and side walls. This step requires careful alignment, so take your time and double-check your measurements.
If your frame or mounts are even slightly off, it can affect the functionality of the entire setup. Once the frame is secure, test the rollers to ensure they move smoothly before moving on to the next step.
Step 5: Attach the Impact Screen and Side Walls
Your impact screen is the centerpiece of the simulator—it’s where you’ll see the course, and it’s designed to withstand high-speed impacts from golf balls. Secure the screen to the largest roller bar using Velcro, ensuring it’s taut and centered. For added stability, insert a weighted fiberglass rod through the bottom of the screen.
Next, attach the side walls to contain any stray balls. These panels are crucial for protecting your garage (and your car!) from errant shots. Use weighted metal pipes or rods to anchor the side walls and keep them from shifting.
If you notice any gaps between the impact screen and side walls, add Velcro strips to seal them. This extra step not only improves the look of your simulator but also ensures no stray balls escape into your garage.
Step 6: Pair the Remote and Test the Motor
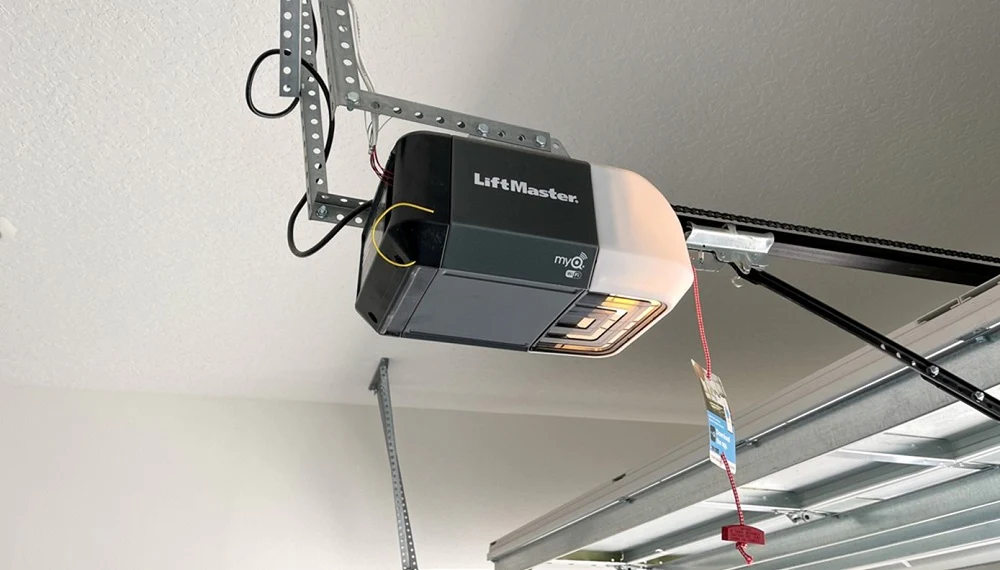
Now it’s time to bring the retractable feature to life. The motorized rollers that control your screen and side panels need to be paired with the remote control for smooth operation. Start by plugging in the motor; you should feel it vibrate twice, signaling that it’s ready to pair.
Hold the up and down buttons on the remote for two seconds, then press the stop button within ten seconds to complete the pairing process.
Once the remote is paired, test the rollers to make sure they move up and down smoothly. This is also the time to set the upper and lower limits, which prevent the screen from overextending or retracting too far. Pairing the remote might seem like a small detail, but it’s what makes your setup truly convenient and user-friendly.

Step 7: Choose Your Launch Monitor
The launch monitor is the brain of your simulator, providing detailed feedback on your swing and helping you track your progress. Your choice of launch monitor will depend on your budget and available space.
The FlightScope Mevo+ is an excellent option for its accuracy and compact size, while the Garmin Approach R10 offers a more budget-friendly alternative. If you have limited depth in your garage, consider the SkyTrak+, which can sit beside you instead of requiring space behind you.
Each of these monitors offers unique features, but they all provide the essential metrics needed to improve your game. Take the time to compare your options and choose the one that best fits your needs.

Step 8: Add a Projector or Display
The final step is adding a visual display, which will bring your virtual golf course to life. If you’re using a projector, mount it to the ceiling and position it at the correct distance to fill the impact screen. Make sure to connect the projector to your launch monitor or laptop using an HDMI cable.
If a projector isn’t in your budget, you can use an iPad or laptop instead. Simply connect your device to the simulator and play directly from its screen. While a projector offers a more immersive experience, an iPad or laptop is a great alternative for those looking to save money.
The Big Reveal
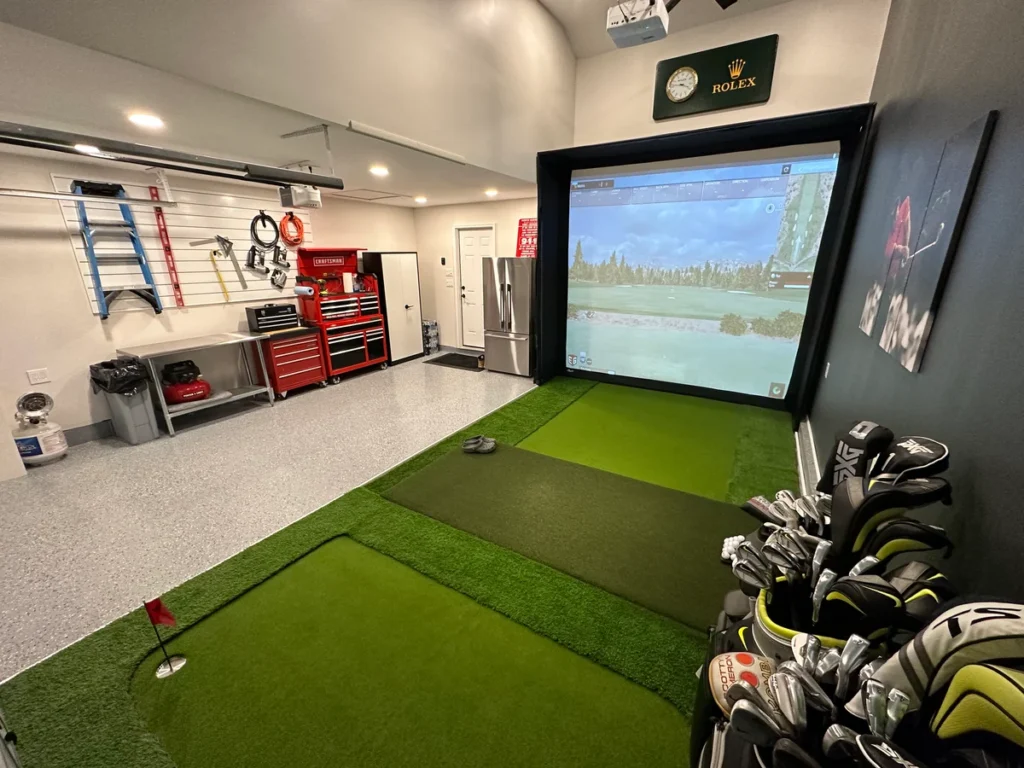
And just like that, your garage has transformed into a professional-grade golf simulator. From retractable screens to high-tech launch monitors, you’ve created a space that allows you to practice your swing, improve your game, and enjoy virtual rounds of golf—all without leaving your home.
This setup isn’t just about convenience; it’s about making the most of your available space and creating something that feels truly special. If you’re ready to take your golf game to the next level, start building your garage golf simulator today.
Your dream setup is closer than you think. Let’s swing into action!

