Building your own golf simulator at home sounds like a dream, right?
Whether you’re looking to improve your swing or just have a fun, immersive golfing experience without heading to the course, a DIY golf simulator can offer that – and more. But, of course, the first question that comes to mind is, how do I actually build one?
No worries, I’ve got you covered! In this article, I’ll walk you through the entire process, step-by-step. From picking the right equipment to choosing the perfect spot in your house, we’ll cover everything you need to know about creating your own golf simulator setup.

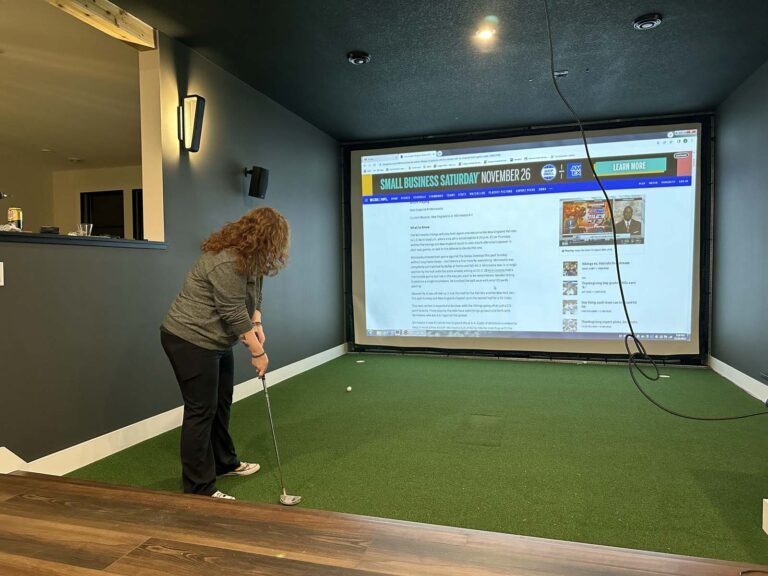
1. Start With the Right Space
Before you even think about buying equipment, you need to figure out where you’re going to set up your golf simulator. The size of your space can determine what type of simulator you’ll be able to build.
What You Need
- Ceiling Height: You’ll want at least 9-10 feet of clearance to swing your club comfortably without damaging anything above.
- Width: Ideally, a space that’s at least 12 feet wide is best so you can swing freely.
- Depth: You need about 16 feet of depth to ensure the ball can fly and land properly without feeling cramped.
Good Spaces: Garages, basements, spare rooms, and even large outdoor sheds make for great simulator spots. Just make sure the area is free of any fragile objects—golf balls can do some serious damage!
2. Choose a Launch Monitor
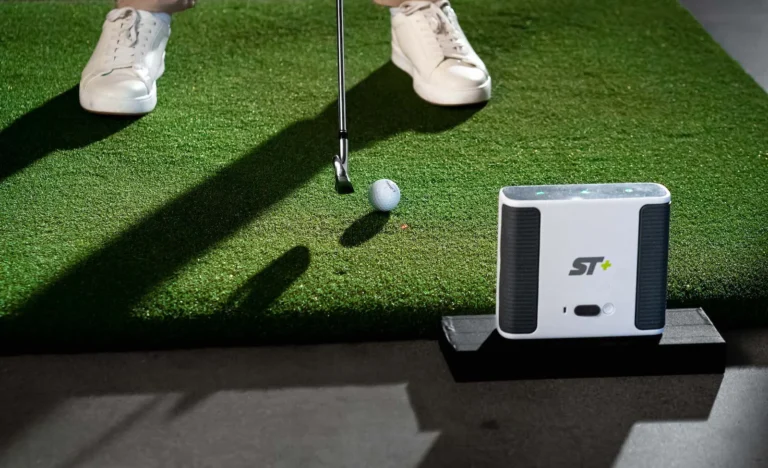
The launch monitor is the heart of any golf simulator. It’s what tracks your ball flight, measures your swing data, and gives you those valuable insights to improve your game.
Budget Options
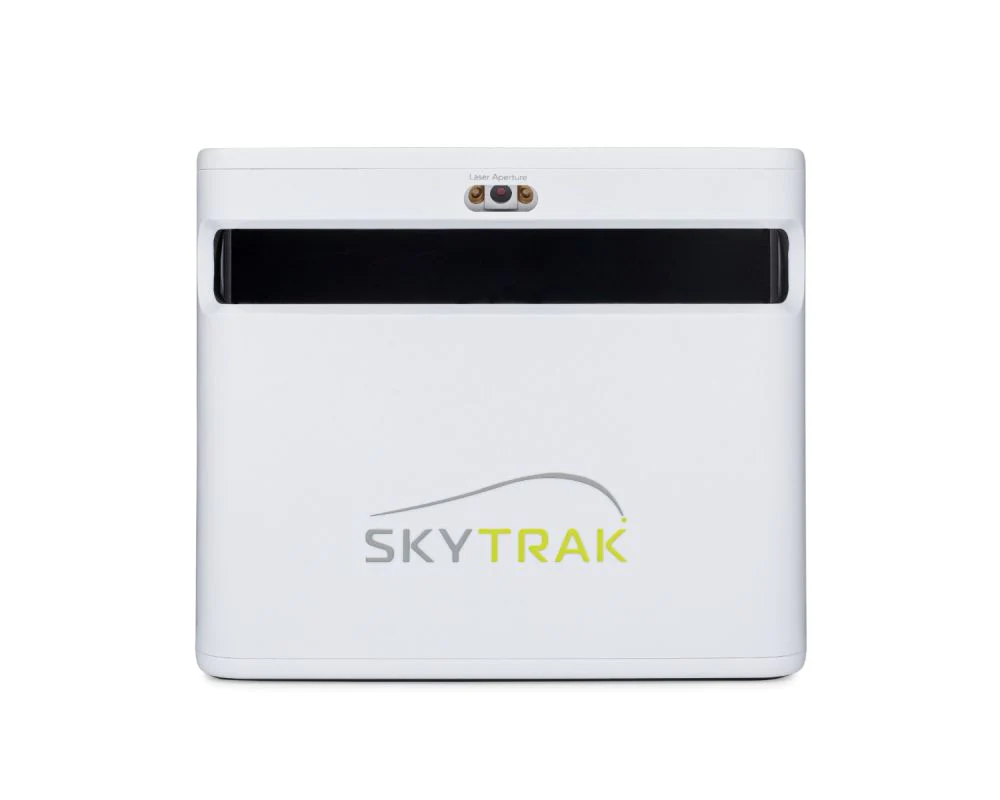
If you’re trying to keep things affordable, consider launch monitors like SkyTrak or OptiShot2. The SkyTrak system offers a balance of accurate data and affordability, typically costing around $2,000.
OptiShot2, meanwhile, is a more basic system that tracks swing speed and ball flight for as little as $400.
High-End Options
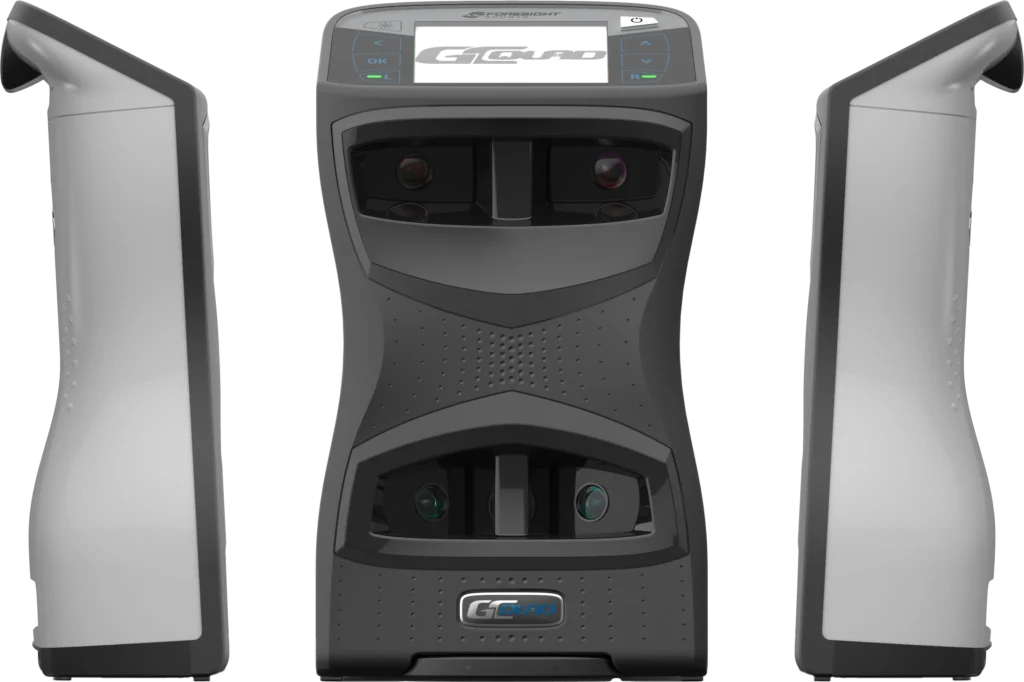
For those looking to go all-in, TrackMan and GCQuad are professional-grade monitors used by tour pros and coaches. These systems offer incredibly detailed stats, including club path, impact data, and ball flight. However, they come with a hefty price tag—think upwards of $20,000.
3. Set Up Your Hitting Mat
Next, you’ll need a hitting mat, which is where you’ll place your ball for every shot. Mats come in a range of prices and qualities, so pick one based on your budget and how much you’ll be using it.

- Budget Mats: You can find good-quality mats for around $200.
- Premium Mats: If you want a more durable, realistic feel, look into mats like SwingTurf or Fiberbuilt, which can cost up to $500.
A quality mat will not only last longer, but also provide a more accurate simulation of hitting from a real fairway.
4. Build or Buy an Enclosure
An enclosure is the frame that holds your impact screen, helping to keep your ball from flying into the wall. You’ve got two options here: build your own or buy a pre-made enclosure.
DIY Enclosure
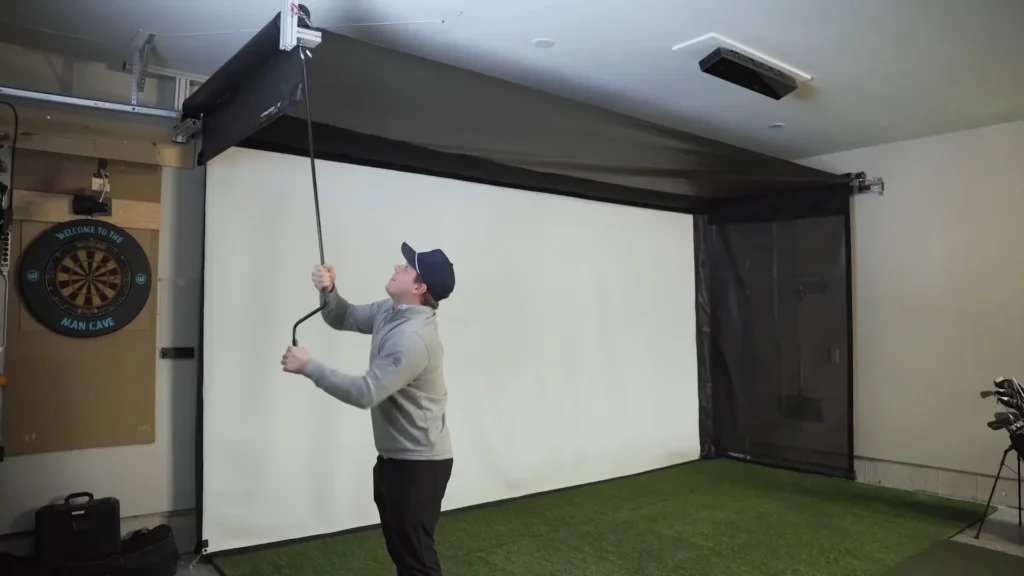
Building your own enclosure can save money. All you need are some 1-inch diameter EMT pipes, corner pieces, and fabric to create a sturdy frame.
You can find tutorials online to help you construct one for around $350.
Pre-Made Enclosure
If DIY isn’t your thing, pre-made options like the SwingBay Enclosure cost around $3,000. These enclosures come with everything you need, including ballistic-grade fabric that holds up under repeated ball impacts.
5. Install an Impact Screen
The impact screen is where you’ll be hitting the golf ball, and it will also act as your projector screen if you choose to use one. Impact screens can range from simple netting to high-quality fabric that holds up under thousands of hits.
- Budget Screens: Simple impact screens can be found for around $200.
- Premium Screens: High-quality screens, like those from Carl’s Place, can cost upwards of $1,000 but provide better durability and a more immersive experience.
6. Add a Projector (Optional)
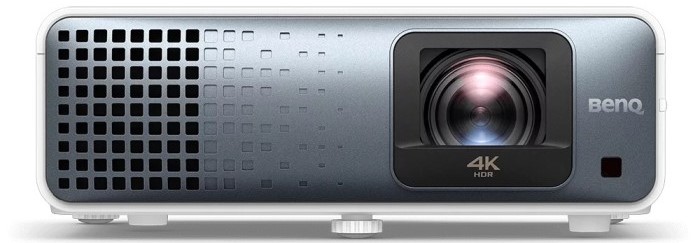
While it’s not essential, adding a projector to display your shots on a screen enhances the experience tenfold. Projectors let you visualize your shots in real-time, making it feel like you’re on an actual golf course.
- Budget Projectors: You can find good projectors for around $800.
- High-End Projectors: If you want sharper graphics, you may spend up to $2,000 on models like the Optoma GT1080 HDR.
If a projector isn’t in the budget, you can always use a TV or tablet to display your shot data.

7. Choose the Right Simulation Software
Finally, you’ll need the right software to bring your simulator to life. The software tracks your data and allows you to play on virtual courses.
- Affordable Options: The Golf Club 2019 is popular and costs around $479 per year.
- Premium Software: E6 Connect or FSX 2020 offers advanced features like multiplayer and course variety. Prices can range from $299 to $3,000 depending on the version.
FAQ Section
How much does it cost to build a golf simulator?
A DIY setup can cost as little as $1,000 for a basic hitting net and launch monitor, while a high-end system with premium enclosures and software could exceed $25,000.
Do I need a projector for my golf simulator?
A projector isn’t mandatory but enhances the experience by allowing you to see your shots in real-time. Otherwise, you can use a TV, iPad, or computer monitor.
Conclusion: Ready to Build Your Golf Simulator?
Building a golf simulator at home doesn’t have to be expensive or complicated. Whether you’re sticking to a budget or going all out, there’s a setup for every golfer. By following these steps and choosing the right components, you can create a simulator that will keep your game sharp year-round—rain or shine.
No matter what setup you choose, remember that this is an investment not only in your home but in your golf game. Happy building, and happy golfing!


