Building your own golf simulator is easier and more affordable than you might think. Whether you’re looking to practice year-round, play on your favorite courses indoors, or simply improve your swing, creating a personalized golf simulator can make all of this possible from the comfort of your home.
In this guide, we’ll walk you through the process of building a golf simulator on a budget, share insights on the best equipment, and help you save money while creating the ultimate golf setup for your space.

Why Build a Golf Simulator?
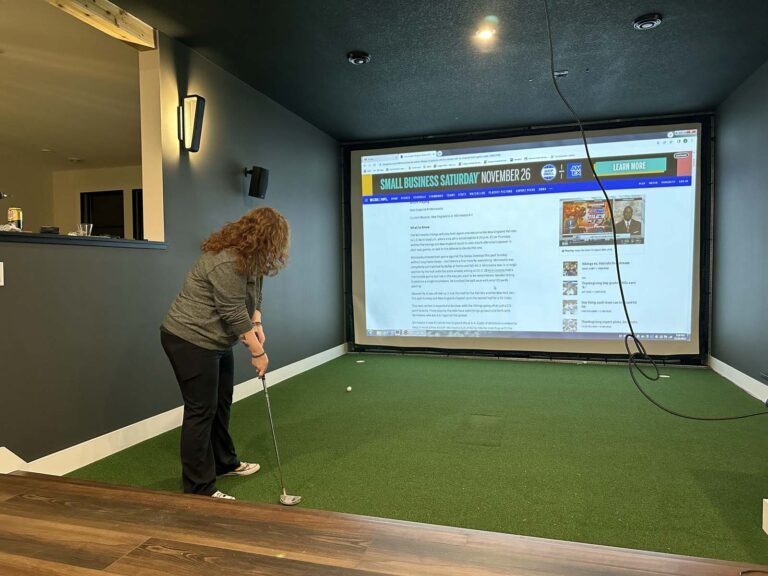
A golf simulator is a game-changer, offering a true-to-life golfing experience no matter the weather. Imagine being able to play Pebble Beach in the middle of a snowstorm, or working on your swing every day in the comfort of your home.
With the right equipment, building a golf simulator setup has never been more affordable or accessible. It’s a project worth investing in, especially during holiday sales, when many golf tech brands drop prices.
So, how do you create the perfect golf simulator? Let’s break it down step by step.

Step 1: Ensure You Have Enough Space for Your Golf Simulator
Before purchasing equipment, ensure that you have enough space to properly set up your golf simulator. The key to a successful setup is having ample room for the simulator to function well without feeling cramped.
Space Considerations:
- Ceiling Height: Aim for at least 10 feet of clearance for comfortable swings, especially if you plan to play regularly. If your space has a lower ceiling, you can get by with 9 to 9.5 feet, but 10 feet is the sweet spot.
- Room Length: For an optimal swing, you’ll need about 12 feet of space in length. This allows for a comfortable backswing and the space necessary for the ball to travel.
- Room Width: The minimum recommended width is 9 feet, but more space will give you greater freedom for your swing path.
In addition to these dimensions, make sure your room is free of obstructions, such as low-hanging shelves or furniture, that could interfere with your golf simulator setup.
Step 2: Choosing the Right Golf Launch Monitor
The launch monitor is arguably the most important component of your golf simulator. It collects data on your ball’s trajectory, speed, launch angle, and more, allowing you to track and improve your performance.
There are two main types of launch monitors: optical-based and Doppler radar-based systems.
Optical Launch Monitors

Optical-based systems, such as the GCQuad, are the most accurate and reliable for indoor golf simulation. These systems capture your club and ball data using high-speed cameras. If you want to maximize precision, an optical-based system is the way to go, though it tends to be pricier.
Some popular options:
- Bushnell Launch Pro: Recently reduced in price to around $1,999, the Bushnell Launch Pro provides incredible accuracy for the price. Note that this model has an annual subscription fee, which is an added expense to consider.
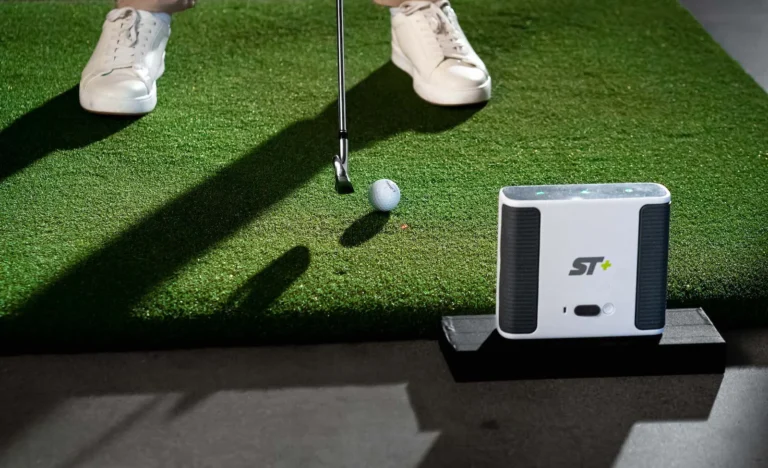
- SkyTrak+: Known for its affordable price point and excellent accuracy, SkyTrak+ is a top choice for those looking to dive into the world of golf simulators. It’s perfect for gap testing and dialing in your wedge distances.
Doppler Radar Launch Monitors
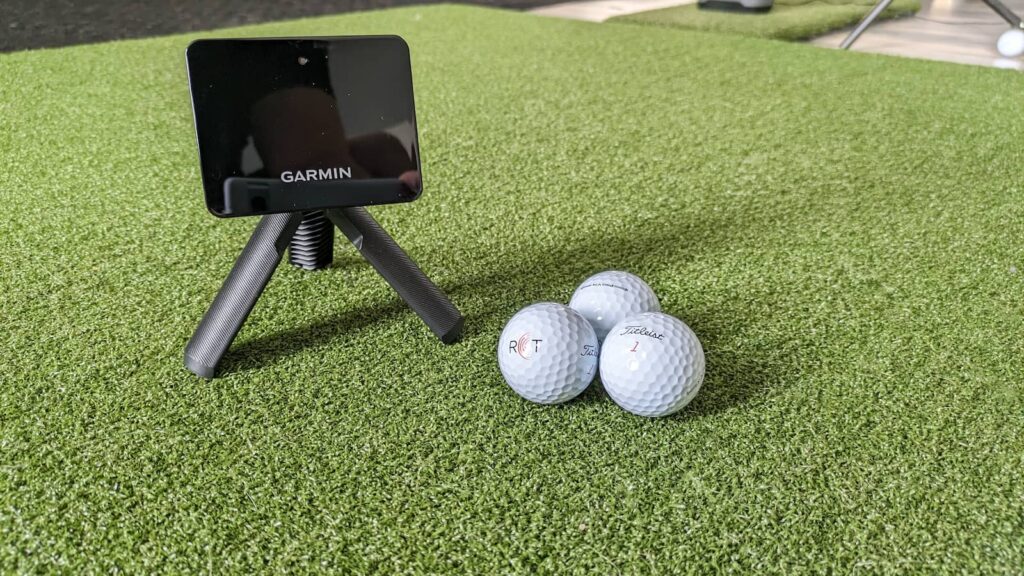
If you’re on a budget, Doppler radar systems, such as the Mevo+, are a great option. These devices work by measuring the ball’s speed and trajectory using Doppler radar, and they provide solid accuracy, though they’re not quite as precise as optical systems. The Mevo+ is highly mobile, easy to set up, and works well for both indoor and outdoor use.
- Garmin R10: A great entry-level launch monitor at just under $500, the Garmin R10 gives you accurate data on your shots, including clubface information. While it doesn’t have the same level of detail as higher-end systems, it provides great value for the price.

Step 3: Setting Up Your Enclosure and Impact Screen
The enclosure protects your walls and ceiling from errant shots and enhances the overall look of your setup. You don’t have to go overboard with expensive custom setups, but investing in a good-quality screen and frame will make your simulator feel like a premium experience.
DIY vs. Professional Enclosure
You could start by building your own enclosure using basic materials like conduit and a net, but if you want a long-lasting, high-end look, consider investing in a professional golf simulator enclosure.
- PlayBetter’s Sim Studios offer excellent packages with easy tool-less construction and high-quality netting. These enclosures are designed to last and can be set up without the need for complicated assembly.
- Monster Mats and similar brands offer premium mats that provide a realistic feel when hitting golf balls, reducing the risk of injury from cheap, thin mats.
Protecting Your Space
If you have kids or frequent guests, adding extra protection around your simulator setup is always a good idea. Consider installing side nets, using curtains to protect your walls, and adding padding to areas where the ball might ricochet.

Step 4: Investing in a Golf Mat
A high-quality golf mat is crucial for realistic practice and long-term durability. Low-cost mats from places like Amazon may be tempting, but they’re often too thin and can lead to bad habits and injury.
Look for mats that:
- Mimic the feel of real turf
- Include foam padding for shock absorption
- Can withstand thousands of shots without wearing out.
The Monster Mat is a solid option, offering about 1.5 inches of foam and a real feel for both fat and clean shots. It’s highly durable and will provide realistic feedback, so you know exactly what kind of shot you hit.

Step 5: Adding a Projector for a Full Immersive Experience
If you want to bring your golf simulator to the next level, a projector is essential. Projectors help display the course and your swing data on a large screen, creating a fully immersive experience.
- Optoma and BenQ projectors are highly rated for their balance of value and quality.
- Make sure to pick the right throw distance for your projector to ensure the image fits your screen perfectly. You can use websites like Projector Central to help you calculate the ideal projector setup for your room.
Step 6: Setting Up Your Gaming Computer
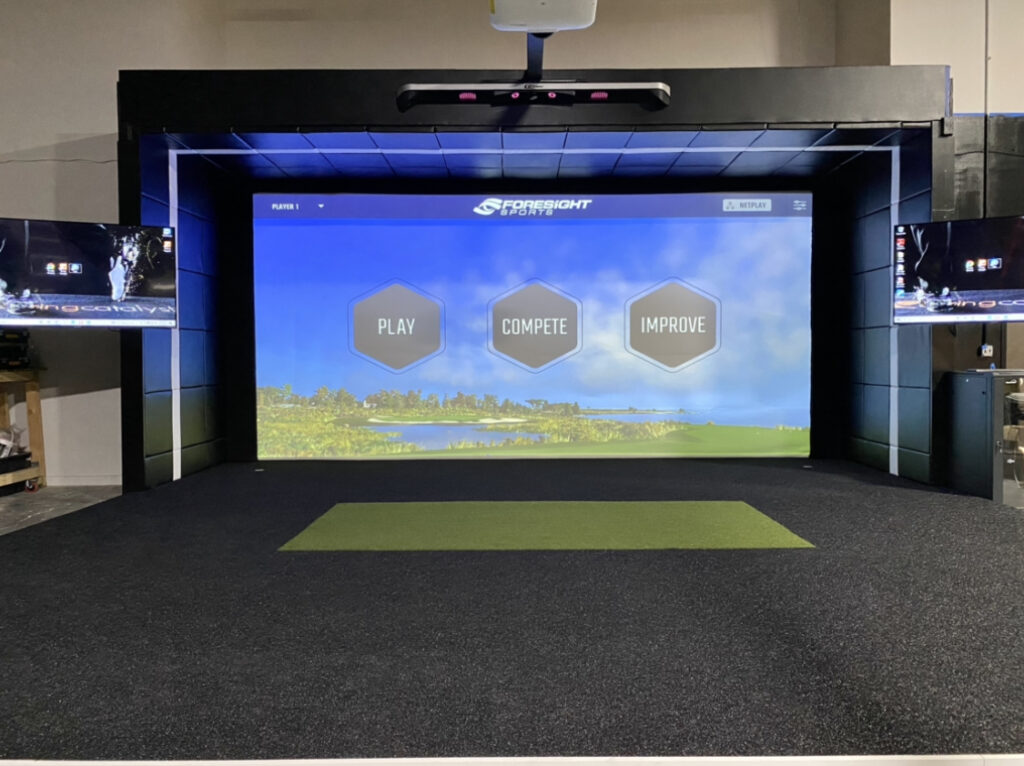
To run your golf simulator software, you’ll need a computer that meets certain specifications, particularly when running graphics-heavy programs like GS Pro or E6 Connect.
- Windows 10 or 11: Make sure your computer runs the latest version of Windows for compatibility with most golf simulation software.
- NVIDIA Graphics Card: A NVIDIA 4060 or similar card will work fine for running most simulators.
You can find good deals on pre-built systems at Costco or Sam’s Club for under $1000. Make sure to check the minimum specs for the launch monitor you’re using.
Step 7: Fine-Tuning Your Golf Simulator Setup
Once you have your space, launch monitor, enclosure, mat, projector, and computer all set up, it’s time for some fine-tuning. Play around with your simulator settings, adjust for your specific needs, and make sure the room dimensions and monitor angles are correct for your swing.
It’s a good idea to test out different simulators and software to find the one that feels right for you. GS Pro and E6 Connect are two popular choices for realistic golf simulation, but there are many other options that work great with the Mevo+ or Garmin R10.
Step 8: Enjoying Your Dream Golf Simulator
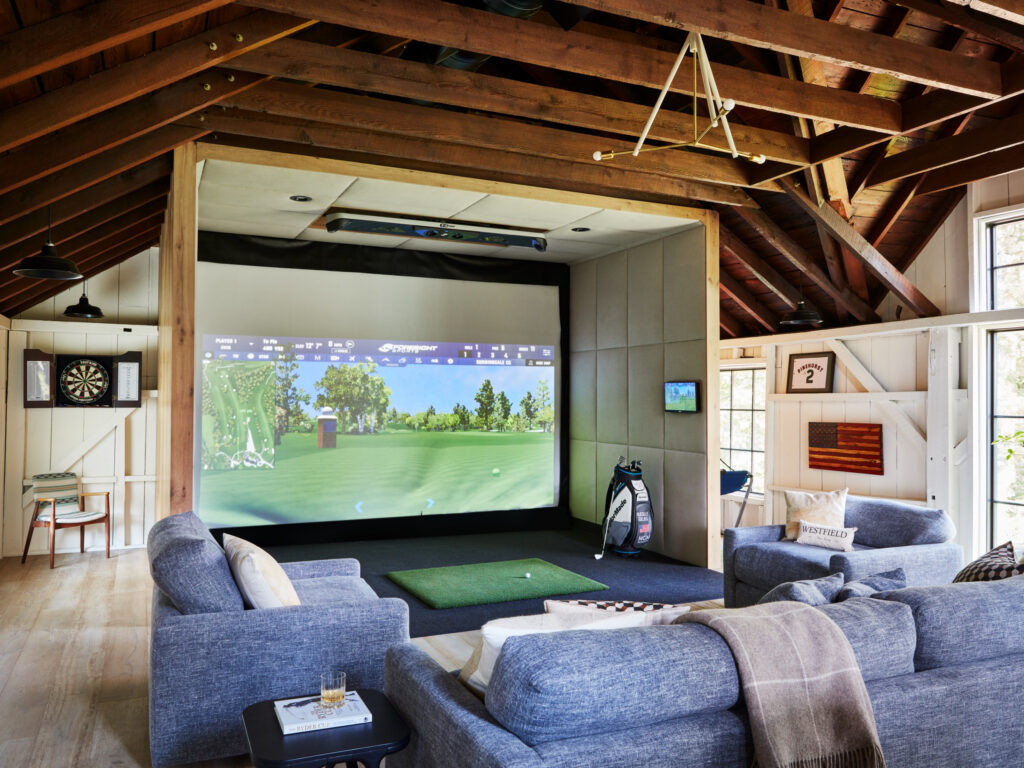
Once everything is set up, you’ll be ready to enjoy your dream golf simulator. Whether you’re playing famous courses like Pebble Beach or just practicing your swing, a home golf simulator offers endless hours of entertainment and improvement.
Take advantage of discounts and deals throughout the year, and don’t be afraid to upgrade your equipment as your skills improve. The more you invest in the right tools, the better your experience will be.
Final Thoughts
Building a golf simulator can be a fun and rewarding project, and with the right equipment, it doesn’t have to break the bank. Whether you’re a beginner or an experienced golfer, having a dedicated space to practice and play will dramatically improve your game.
By following this guide, you can build a golf simulator that suits your needs and fits your space, all while staying within budget.
Now that you know the basics, it’s time to turn your dream into a reality! Start planning your golf simulator setup and enjoy playing year-round, no matter the weather.


